
Thursday, 09 July 2026
A good-looking wall isn’t just about the paint color—it all starts with proper plastering. Whether you’re building a new house or renovating an old one, applying mortar plaster correctly creates a smooth surface, strengthens the wall, and protects it from moisture and everyday wear.
The first and most important step is surface preparation. Before applying mortar, make sure the wall is clean from dust, loose debris, grease, or old paint. If there are cracks or holes, repair them first. For brick or concrete walls, lightly dampen the surface with water before plastering. This helps the mortar bond better and prevents the wall from absorbing water too quickly, which can lead to cracks.
Next comes the mortar itself. Use a high-quality mortar mix and prepare it according to the manufacturer’s instructions. The consistency should be smooth—not too runny and not too thick. A well-mixed mortar spreads more evenly and makes the application process much easier.
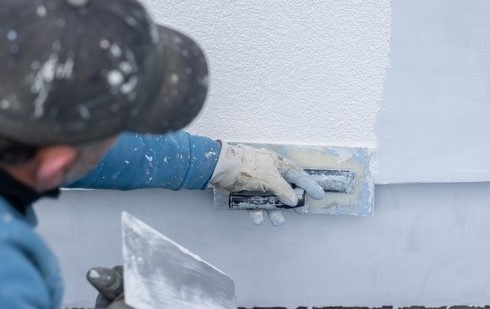
Once the mortar is ready, begin applying it from the bottom of the wall and gradually work upward. Use a steel trowel to spread the mortar evenly across the surface. Keep the thickness consistent to avoid uneven finishes. If you’re covering a large area, work in manageable sections instead of trying to finish everything at once.
After the first coat is applied, use a straight edge or screed to level the surface. This simple step removes excess mortar and creates a flat wall that’s ready for the finishing coat. Don’t rush this process because a well-leveled base makes the final finish much more professional.
If necessary, apply a second coat after the first layer has partially set. The finishing coat should be thinner and smoother. Use gentle trowel movements to eliminate small imperfections and create a clean, even appearance. Some builders also use a damp sponge during the final stage to achieve an extra-smooth texture.
One mistake many beginners make is allowing the plaster to dry too quickly. Fresh plaster needs proper curing to gain strength. Lightly mist the wall with water over the next few days, especially in hot weather. This helps prevent shrinkage cracks and improves durability.
Safety is equally important during plastering. Wear gloves, safety glasses, and a dust mask while mixing mortar. Cement-based materials can irritate your skin and eyes, so using proper protective equipment is always recommended.
Finally, remember that patience pays off. Don’t paint or install wall finishes until the plaster has fully cured. Giving the wall enough drying time ensures better paint adhesion and a longer-lasting finish.
Good plastering is more than just making walls look nice. It creates a stronger structure, improves moisture resistance, and provides the perfect foundation for decorative finishes. By following the correct preparation, mixing, application, leveling, and curing process, you can achieve professional-quality walls that remain smooth and durable for years to come.